Craving a rich, fudgy brownie without the long prep or bake time? This Cottage Cheese Microwave Brownie is your ultimate solution. Ready in just a few minutes, it’s moist, chocolaty, and secretly packed with protein thanks to the addition of creamy cottage cheese. Whether you’re looking for a guilt-free dessert, a post-workout treat, or a quick fix for late-night chocolate cravings, this single-serving brownie will hit the spot every time.
Let’s dive deep into what makes this microwave brownie so special, how to perfect the texture, flavor variations, and more—all while keeping things simple, delicious, and healthy.
Why You’ll Love This Microwave Brownie Recipe
There’s a lot to love about this protein-rich brownie. Here’s why it deserves a permanent spot in your dessert rotation:
Fast and Convenient
-
No oven needed—cooks in under 2 minutes in the microwave
-
Minimal cleanup—mix everything in a mug or bowl
-
Perfect for one serving—no leftovers to tempt you
Healthier Chocolate Fix
-
High in protein from cottage cheese and egg
-
Naturally sweetened with maple syrup or honey
-
No refined sugar (unless you top with extra chocolate chips)
Rich Flavor and Fudgy Texture
-
Deep cocoa flavor that rivals oven-baked brownies
-
Moist and gooey thanks to cottage cheese and almond flour
-
Optional chocolate chips melt into pockets of delight
Ingredients Breakdown

Each ingredient plays a specific role in achieving the perfect brownie texture and flavor. Here’s what you’ll need:
Essential Ingredients
-
¼ cup cottage cheese
Adds protein, moisture, and a creamy texture without overpowering the chocolate flavor. -
2 tablespoons cocoa powder
Provides deep, rich chocolate flavor. Use unsweetened cocoa for best results. -
2 tablespoons almond flour or all-purpose flour
Almond flour makes this recipe gluten-free and nutty, while all-purpose flour creates a classic chewy texture. -
2 tablespoons maple syrup or honey
Natural sweeteners give the brownie a subtle caramel note and make it refined sugar-free. -
1 large egg
Acts as a binder and helps the brownie rise slightly for a fluffy, tender center. -
½ teaspoon vanilla extract
Enhances the chocolate and adds warm, bakery-style aroma. -
Pinch of salt
Balances sweetness and intensifies the cocoa flavor.
Optional Add-ins
-
Chocolate chips or chunks
Add gooey chocolate pockets—use dark, milk, or sugar-free chips. -
Crushed nuts (e.g., walnuts or pecans)
Offer crunch and a toasty contrast to the soft brownie. -
Swirl of nut butter or cream cheese
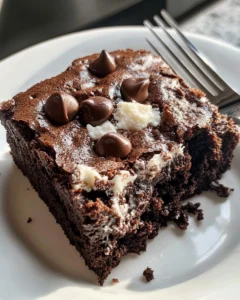
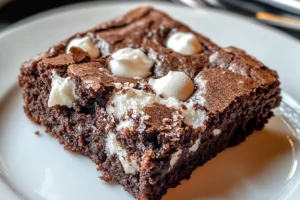
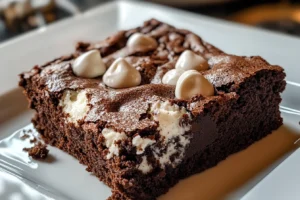
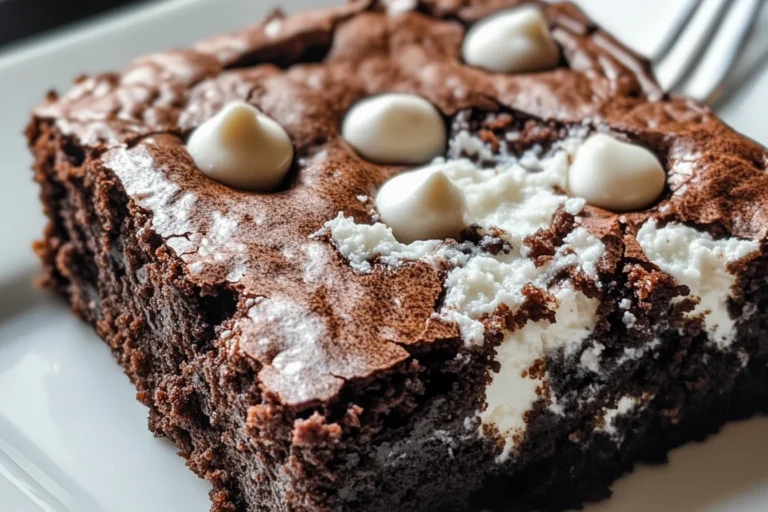
Creates a marbled, bakery-style look and extra richness—just like in the photo.
Step-by-Step Instructions
Making this brownie is quick and easy, and you don’t even need special equipment.
Step 1: Blend the Cottage Cheese
-
For a smoother texture, use a mini blender or food processor to blend the cottage cheese until creamy.
-
If you don’t mind a few curds, you can skip blending and mix it directly.
Step 2: Combine the Wet Ingredients
-
In a microwave-safe mug or ramekin:
-
Add the cottage cheese, egg, vanilla extract, and maple syrup.
-
Whisk until fully combined.
-
Step 3: Add Dry Ingredients
-
Stir in:
-
Cocoa powder
-
Almond flour (or regular flour)
-
A pinch of salt
-
-
Mix until you get a smooth, thick batter with no dry pockets.
Step 4: Add Toppings
-
Sprinkle chocolate chips or nuts on top.
-
Optionally, swirl in a small spoonful of cream cheese or peanut butter to replicate the creamy streaks in the photo.
Step 5: Microwave and Serve
-
Microwave on high for 60–90 seconds.
-
The brownie should puff slightly and be firm around the edges but slightly gooey in the center.
-
Cool for 1–2 minutes before digging in to avoid burning your tongue.
How to Make It Look Like the Photo

Want that picture-perfect look from the uploaded image? Follow these presentation tips:
Use Chocolate Chips Generously
-
After pouring the batter, dot the top with large semi-sweet chocolate chips.
-
These will melt and set beautifully on top.
Add a Cream Cheese Swirl
-
Drop 1 teaspoon of softened cream cheese on the surface.
-
Swirl gently with a toothpick or knife for a marbled effect.
-
When microwaved, it creates the iconic creamy contrast seen in the photo.
Serve on a White Plate
-
Transfer your brownie to a white plate for a clean, elegant look.
-
Use a dessert fork for that gourmet café vibe.
Tips for Perfect Results
Even simple microwave recipes benefit from a few pro tips:
Don’t Overcook
-
Overcooking dries out the brownie.
-
Check after 60 seconds; add 10-second intervals as needed.
Adjust Sweetness
-
For a sweeter treat, add more maple syrup or toss in a few stevia drops.
-
For a darker, more bitter chocolate hit, use unsweetened dark cocoa.
Customize Texture
-
Want it cakier? Add a dash of baking powder.
-
Prefer extra fudgy? Use a bit less flour and more cottage cheese.
Dietary and Nutrition Notes

This cottage cheese brownie isn’t just indulgent—it fits into several dietary plans:
High-Protein Dessert
-
Egg and cottage cheese both contribute to the protein content.
-
Ideal for post-workout recovery or muscle-building diets.
Gluten-Free Option
-
Use almond flour or certified GF all-purpose flour to make it gluten-free.
Low Sugar Alternatives
-
Swap maple syrup for sugar-free syrup or stevia for a lower-carb version.
Vegetarian-Friendly
-
Contains no meat, gelatin, or animal fats—just dairy and egg.
Flavor Variations to Try
You can reinvent this brownie endlessly to suit your mood or diet:
Peanut Butter Brownie
-
Swirl in 1 teaspoon of natural peanut butter before microwaving.
-
Sprinkle crushed peanuts on top for extra crunch.
Mocha Brownie
-
Add ¼ teaspoon of instant espresso powder to the batter.
-
Top with dark chocolate chips for a café-style brownie.
Mint Chocolate Brownie
-
Mix in a drop of peppermint extract.
-
Garnish with crushed peppermint candy or mint chips.
Coconut Fudge Brownie
-
Stir in shredded coconut and use coconut flour instead of almond.
-
Add a coconut cream swirl for tropical flair.
Make It Ahead or Meal Prep
This single-serve brownie is best eaten fresh, but you can prep parts of it in advance:
Pre-Mix the Dry Ingredients
-
Mix the cocoa, flour, and salt in a small jar.
-
Just add wet ingredients when you’re ready.
Blend and Store Cottage Cheese
-
Keep a small batch of blended cottage cheese in your fridge.
-
Use it anytime for a smooth brownie base or other high-protein recipes.
Common Questions and Troubleshooting
Let’s cover a few quick questions that may come up:
Can I bake this in the oven?
Yes! Bake at 350°F (175°C) for 12–15 minutes in a small ramekin or muffin tin. The texture will be slightly firmer than the microwave version.
What if I don’t have cottage cheese?
You can substitute:
-
Greek yogurt (adds tang and protein)
-
Ricotta cheese (for a smoother finish)
-
Mashed banana (for a vegan option, but less fudgy)
Can I double the recipe?
Yes, just microwave it in a larger mug or dish and increase cooking time by 30–45 seconds. Check the center for doneness.
Fun Ways to Serve This Brownie
Turn this simple dessert into something extra special:
Add a Scoop of Ice Cream
-
Vanilla, chocolate, or coconut ice cream pairs beautifully.
Drizzle with Sauce
-
Warm chocolate fudge, peanut butter drizzle, or caramel sauce takes it to another level.
Dust with Powdered Sugar or Cocoa
-
For a bakery-style finish, sift a little sugar or cocoa over the top before serving.
How This Brownie Supports Your Healthy Lifestyle
It’s not just about taste—this recipe also contributes to your wellness goals:
Balanced Macros
-
Protein: from cottage cheese and egg
-
Healthy fats: from almond flour
-
Carbs: natural sugars from maple syrup
Portion Control
-
Single-serving design means no temptation to overeat.
-
Great for mindful indulgence or portion-aware diets.
Quick Satisfaction
-
Great for busy days, quick dessert cravings, or post-workout fuel.
-
Keeps you from reaching for processed snacks or candy bars.
Final Thoughts
This Cottage Cheese Microwave Brownie is proof that healthy treats don’t have to be boring. In just a few minutes, you can whip up a rich, decadent dessert that satisfies your sweet tooth and supports your wellness goals. Whether you enjoy it plain, topped with extras, or swirled with cream cheese like in the photo, it’s guaranteed to become a regular in your recipe rotation.
